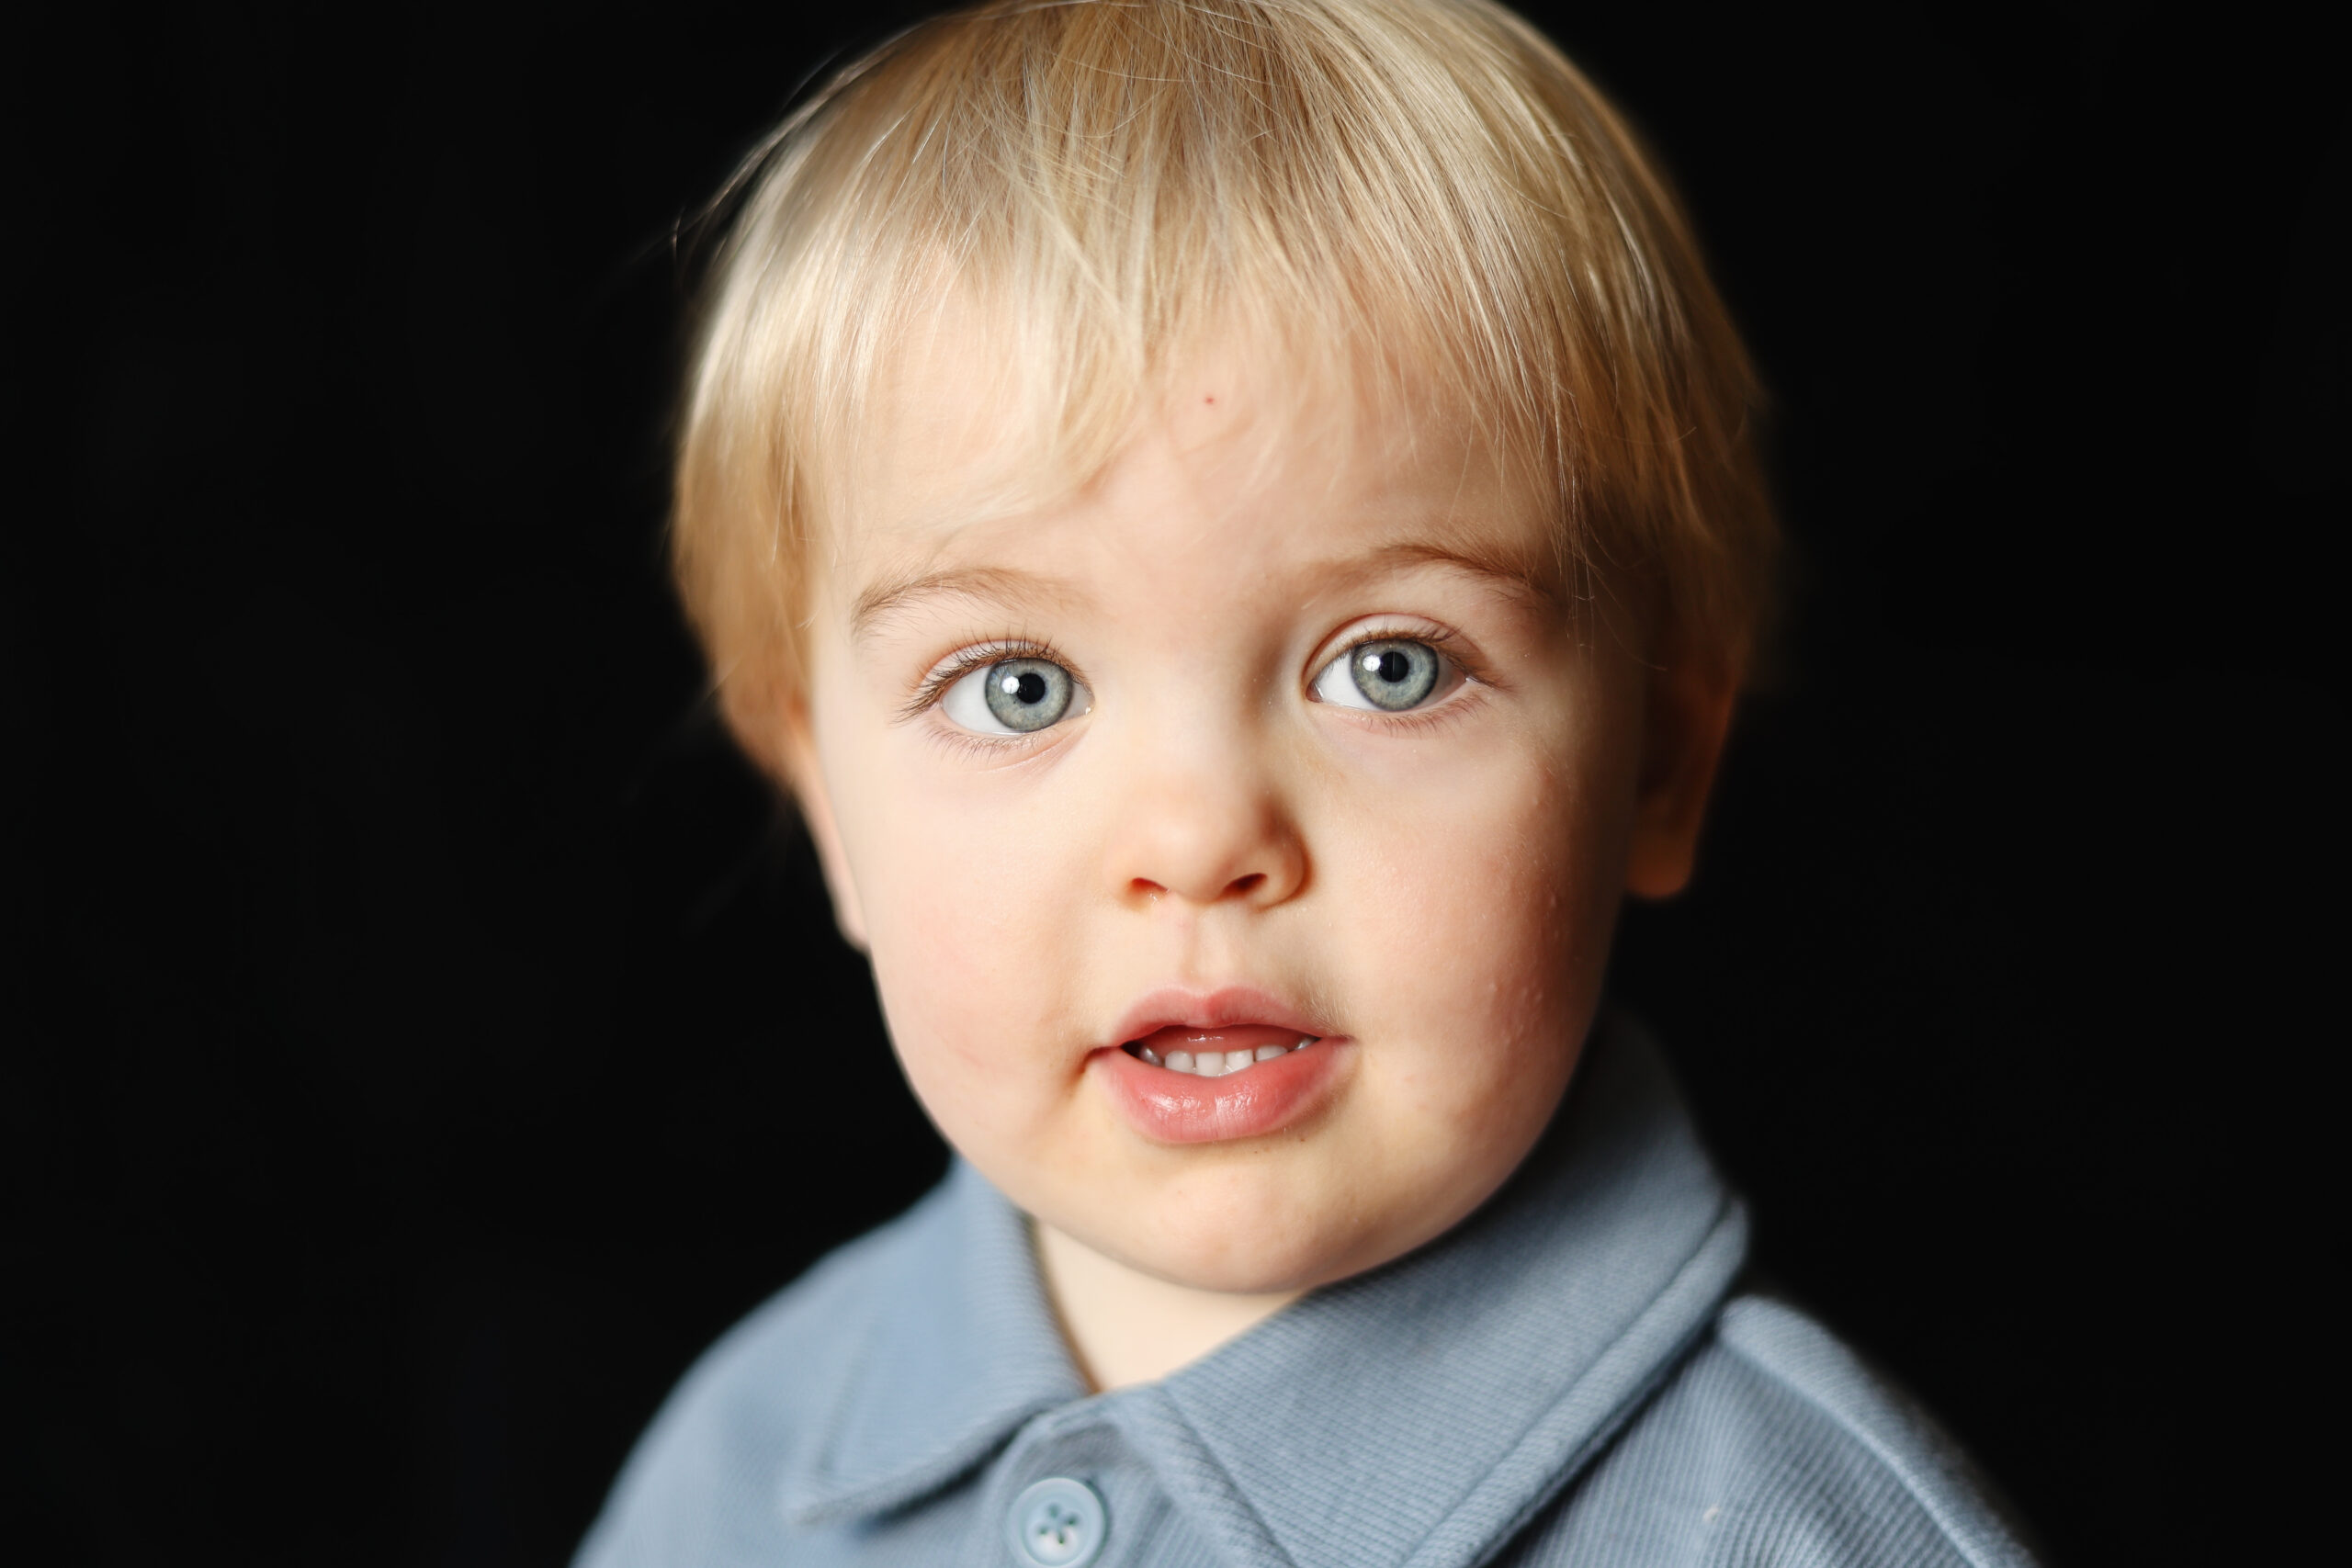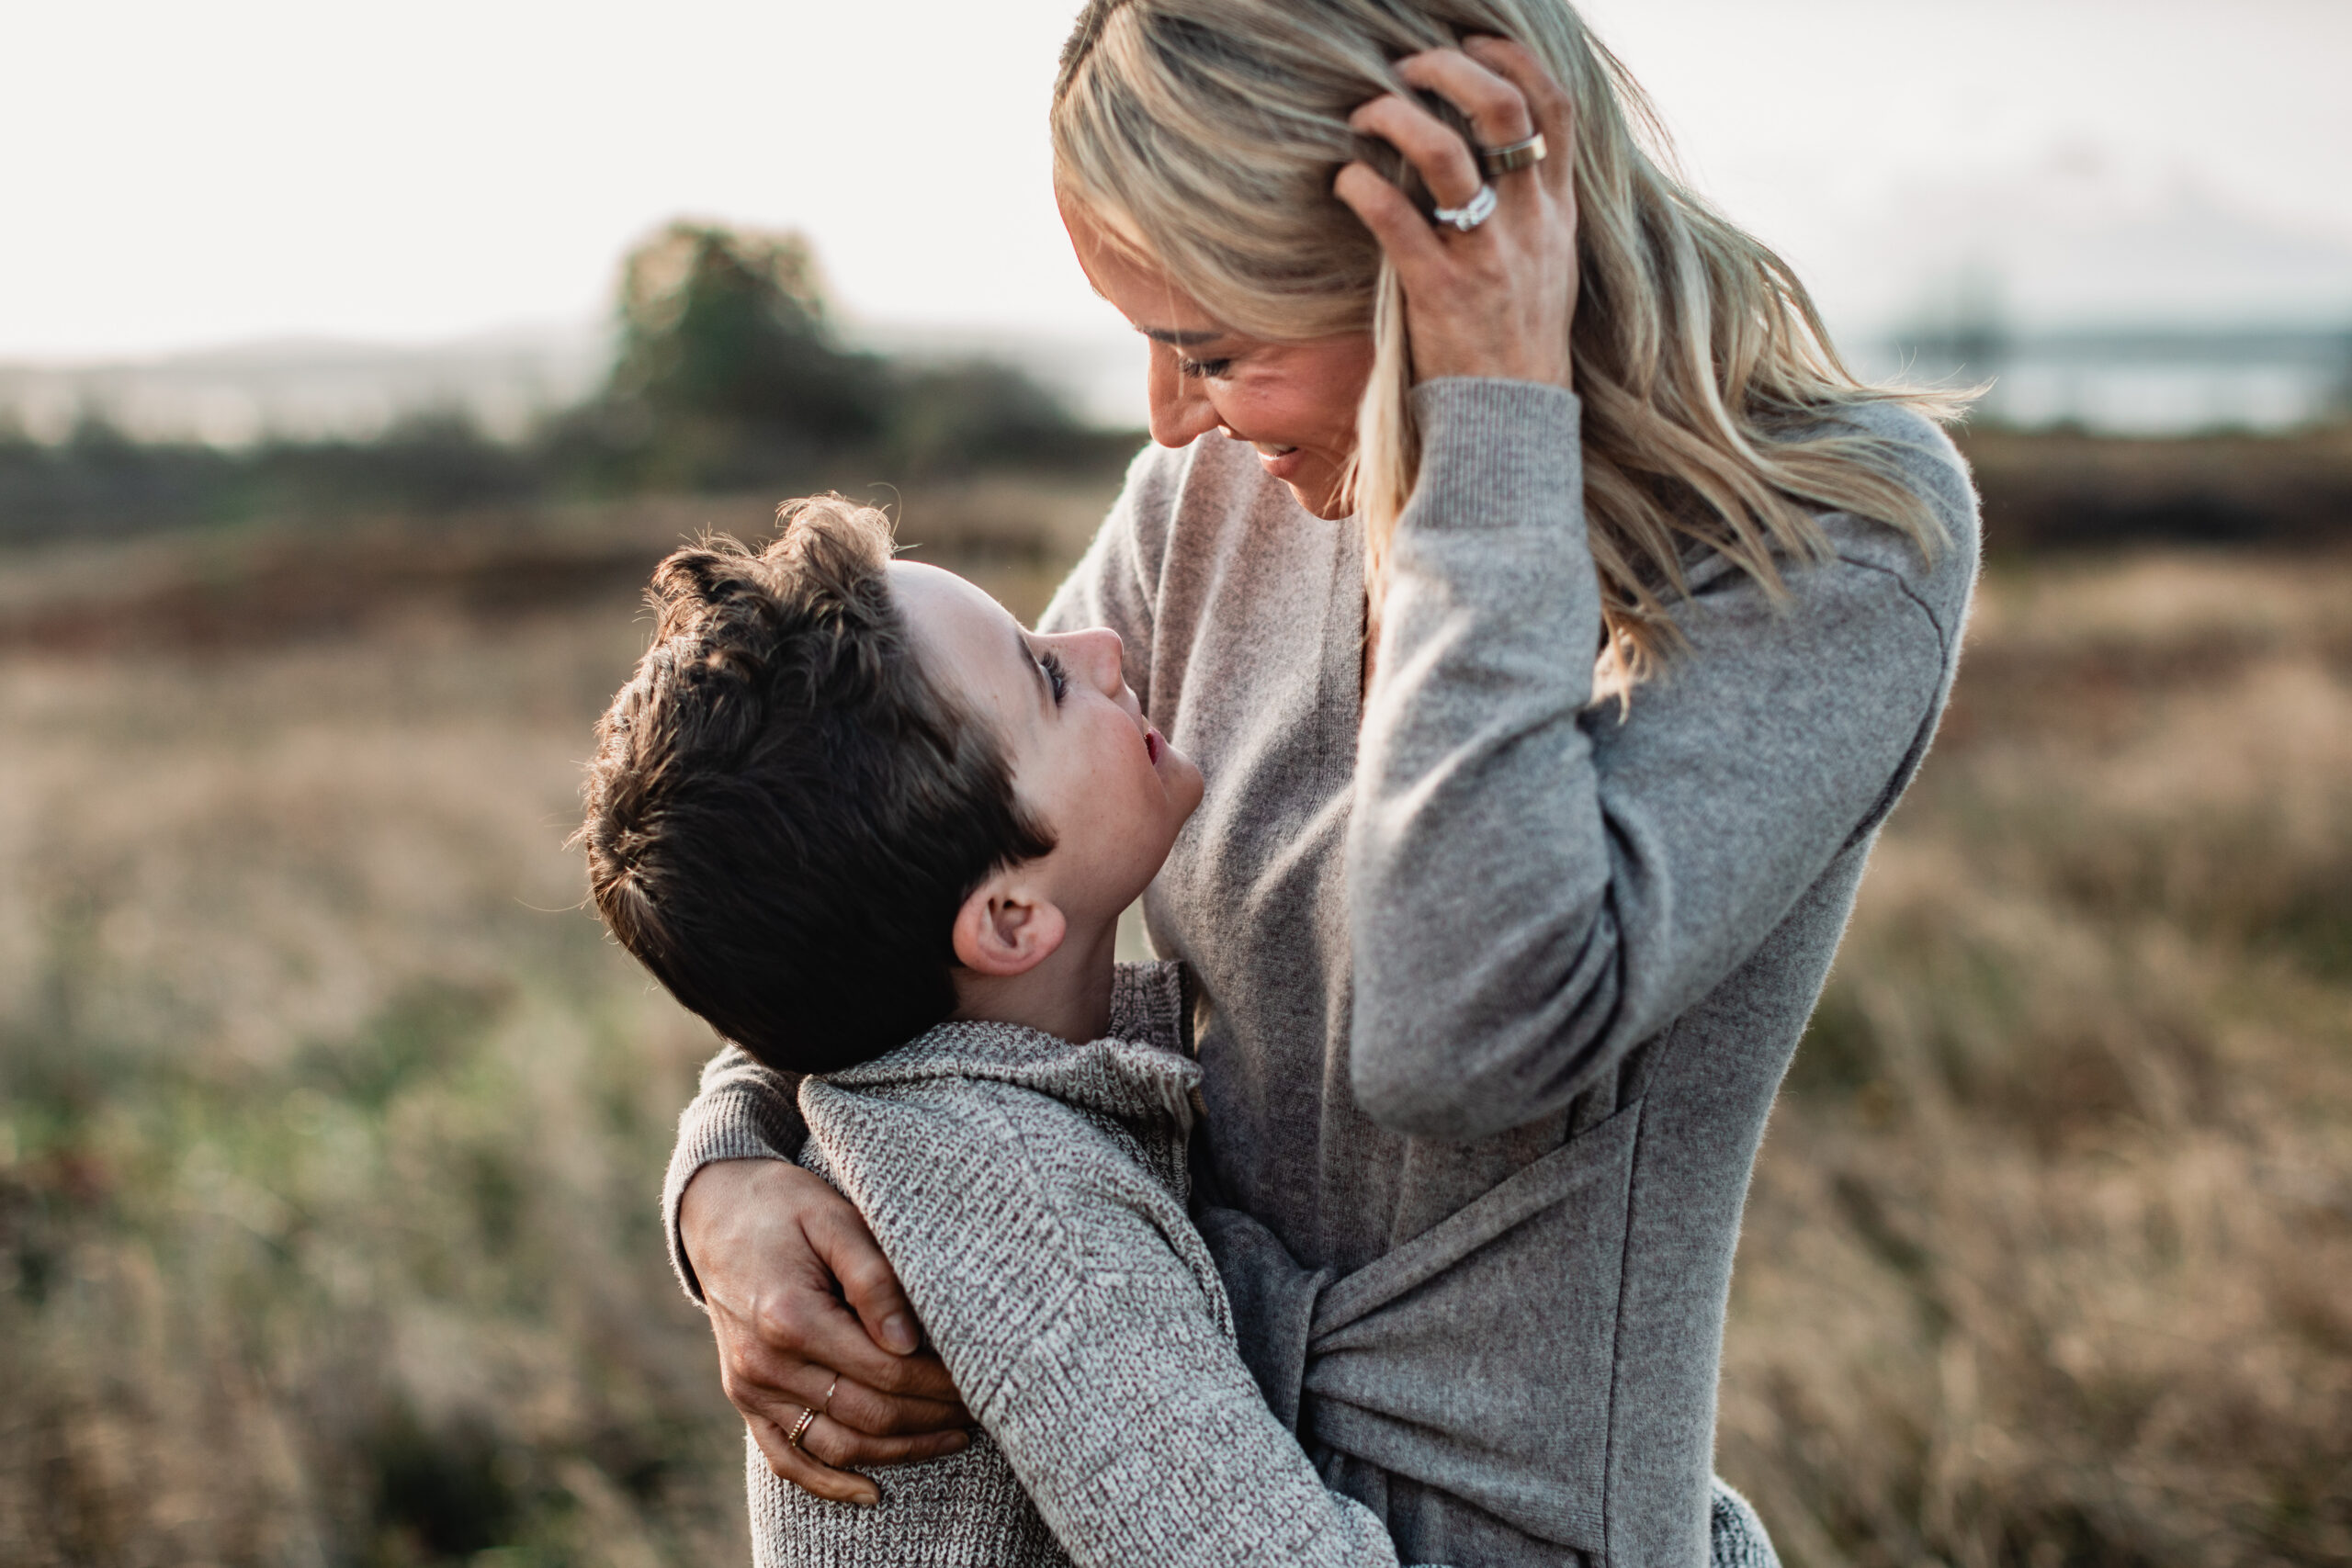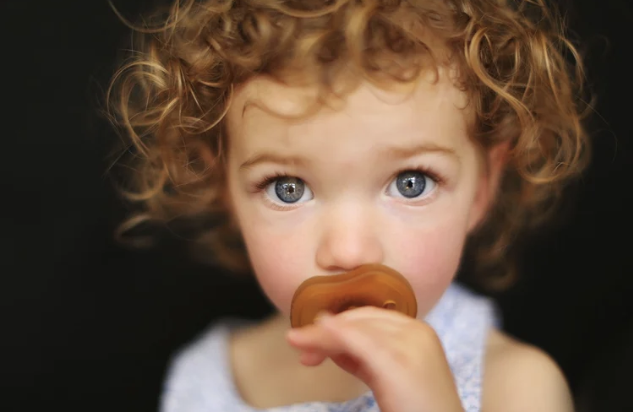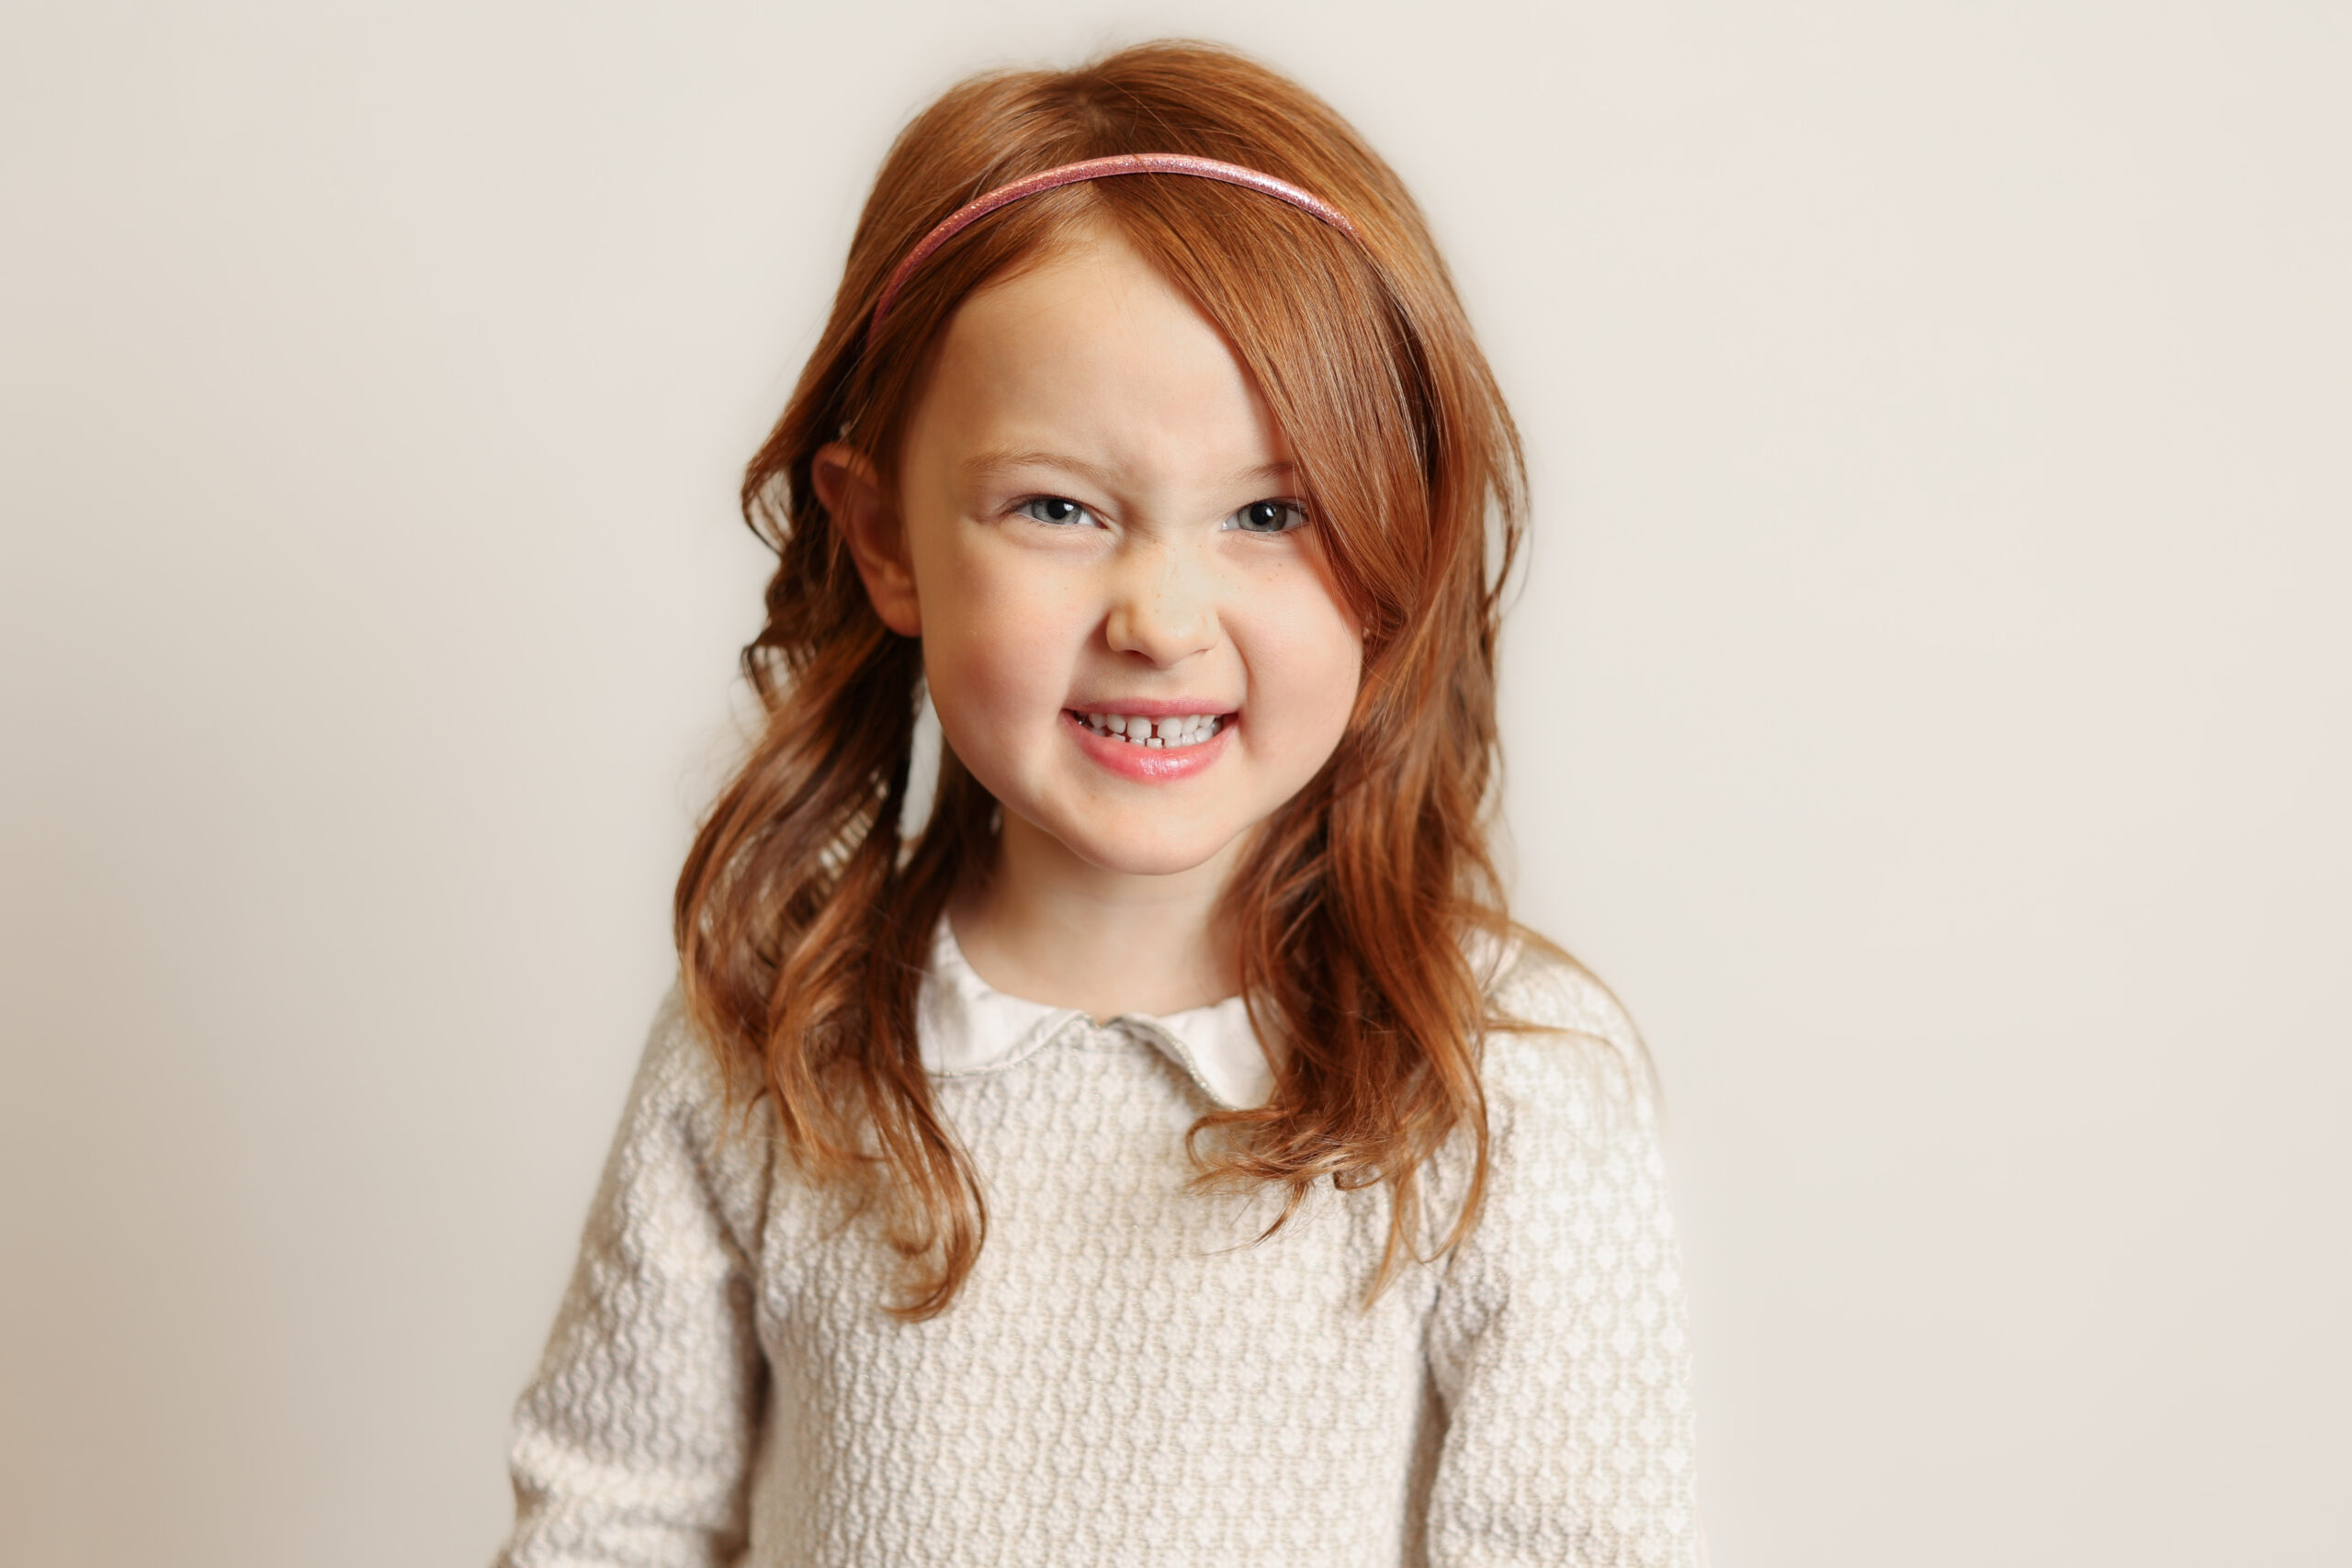

You do not need a massive, overly complicated lighting setup to create beautiful, high-end school portraits. In fact, when it comes to volume photography, the simpler your gear setup is, the better your final results will be.
When you are photographing hundreds of students back-to-back, your primary goal isn’t experimental creativity in every single frame. Your priorities must be consistency, efficiency, and a clean, repeatable look that feels polished and professional.
This is exactly why I rely on a streamlined, one light school photography lighting setup.
My Go-To School Photography Gear
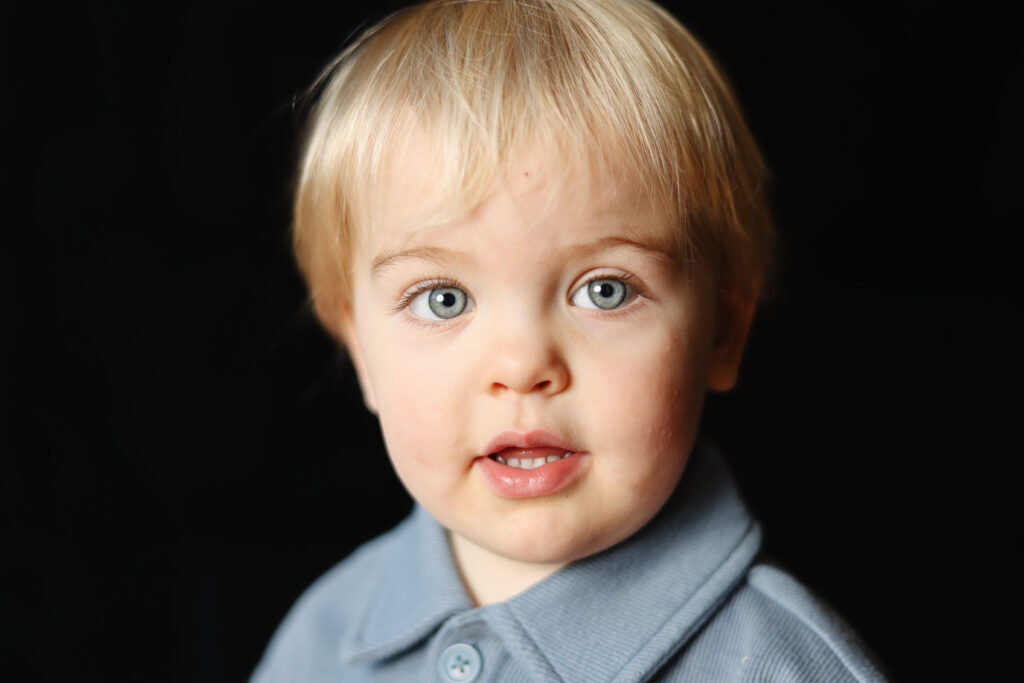
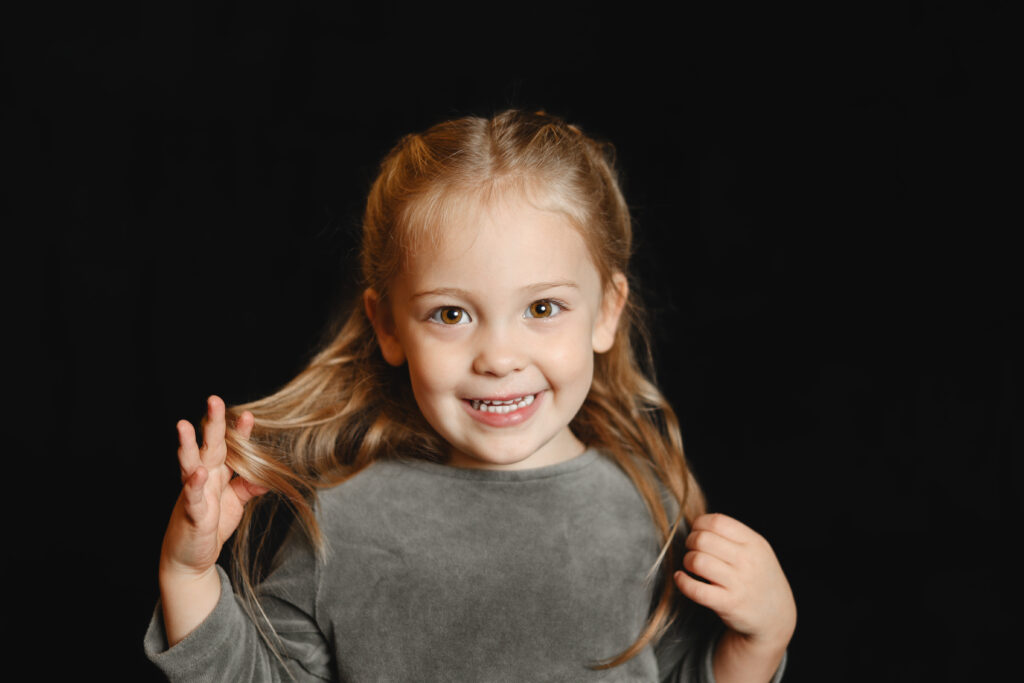
My exact setup is incredibly minimal. I use a Profoto A2 paired with one large umbrella. That is it. No extra rim lights, no fill cards, and absolutely no complicated adjustments between students.
By stripping away the extra equipment, I create a reliable system that allows me to completely take my mind off the tech and focus 100% on connecting with the child sitting in front of me.
                           [ Student ]


         [ Large Umbrella ]     ▲
  (Slightly above eye level,    │
        angled down at 45°)     │
                            [ Camera ]
The Lighting Placement Formula
To get that classic, soft, fine-art portrait look, follow this simple placement framework:
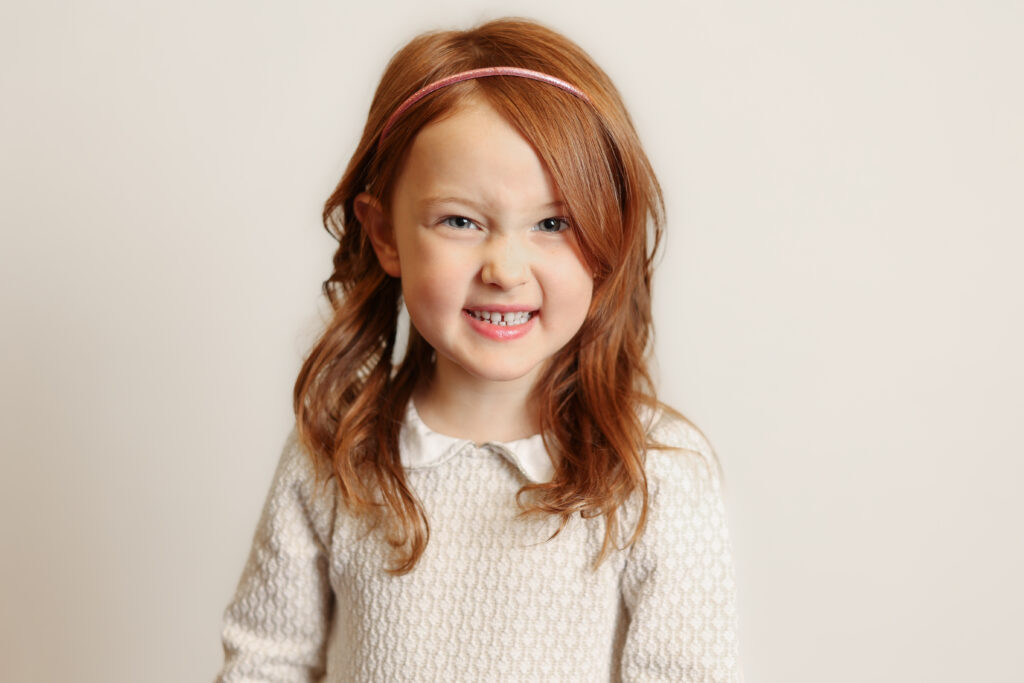
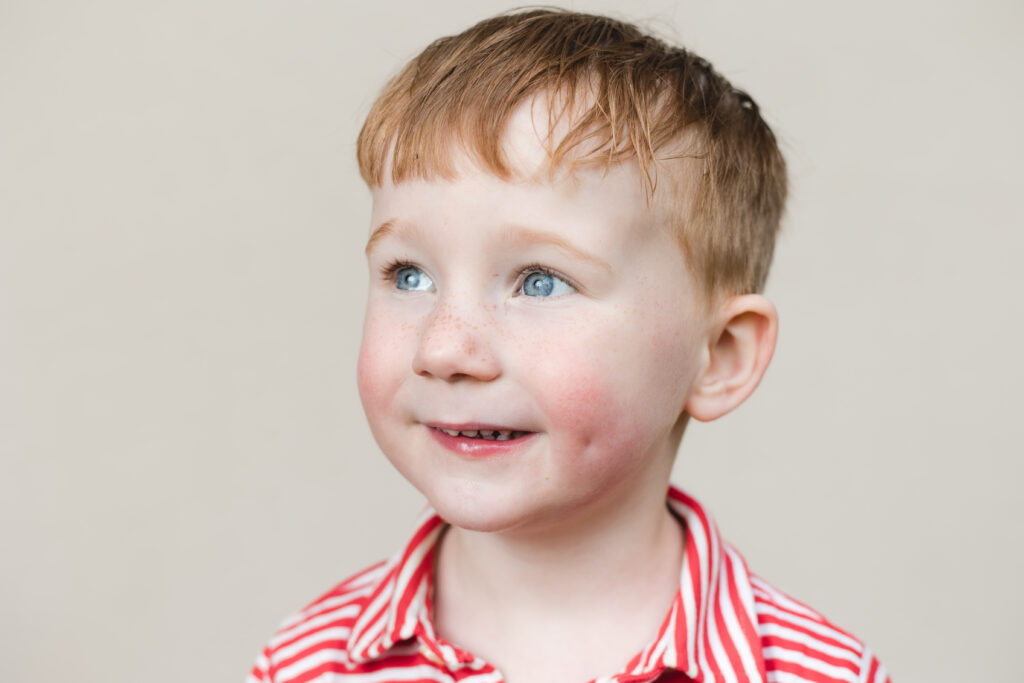
- The Angle: Place your light slightly off to the side (about 45 degrees) and slightly above the student’s eye level, angled gently down toward their face. This creates soft, flattering light with just enough subtle dimension to give the image depth without producing harsh, distracting shadows.
- The Distance: Distance plays a massive role in volume portraiture. When a light source is closer to the subject, it softens the overall look. When it is slightly farther away, it gives you a wider, more even coverage area.
You want to find the sweet spot in your testing so that whether a kindergartener or a fifth grader sits down, they are lit identically without you needing to touch your light stand all day.
Efficiency Creates Profit
The absolute reality of volume photography is that your setup must work exactly the same way every single time. Learning how to photograph school portraits at a profitable scale is not about reinventing the wheel. It is about creating a predictable system that allows you to move quickly, stay consistent, and deliver a beautiful, high-end result for every single family.
When your setup is simple, your workflow becomes effortless. And when your workflow is smooth, your photography business thrives.
Ready to build your own school portrait kit?
You don’t need to guess which modifiers, stands, or camera bodies will serve you best when stepping into the volume photography space. I’ve rounded up absolutely everything I use to generate massive revenue with schools.