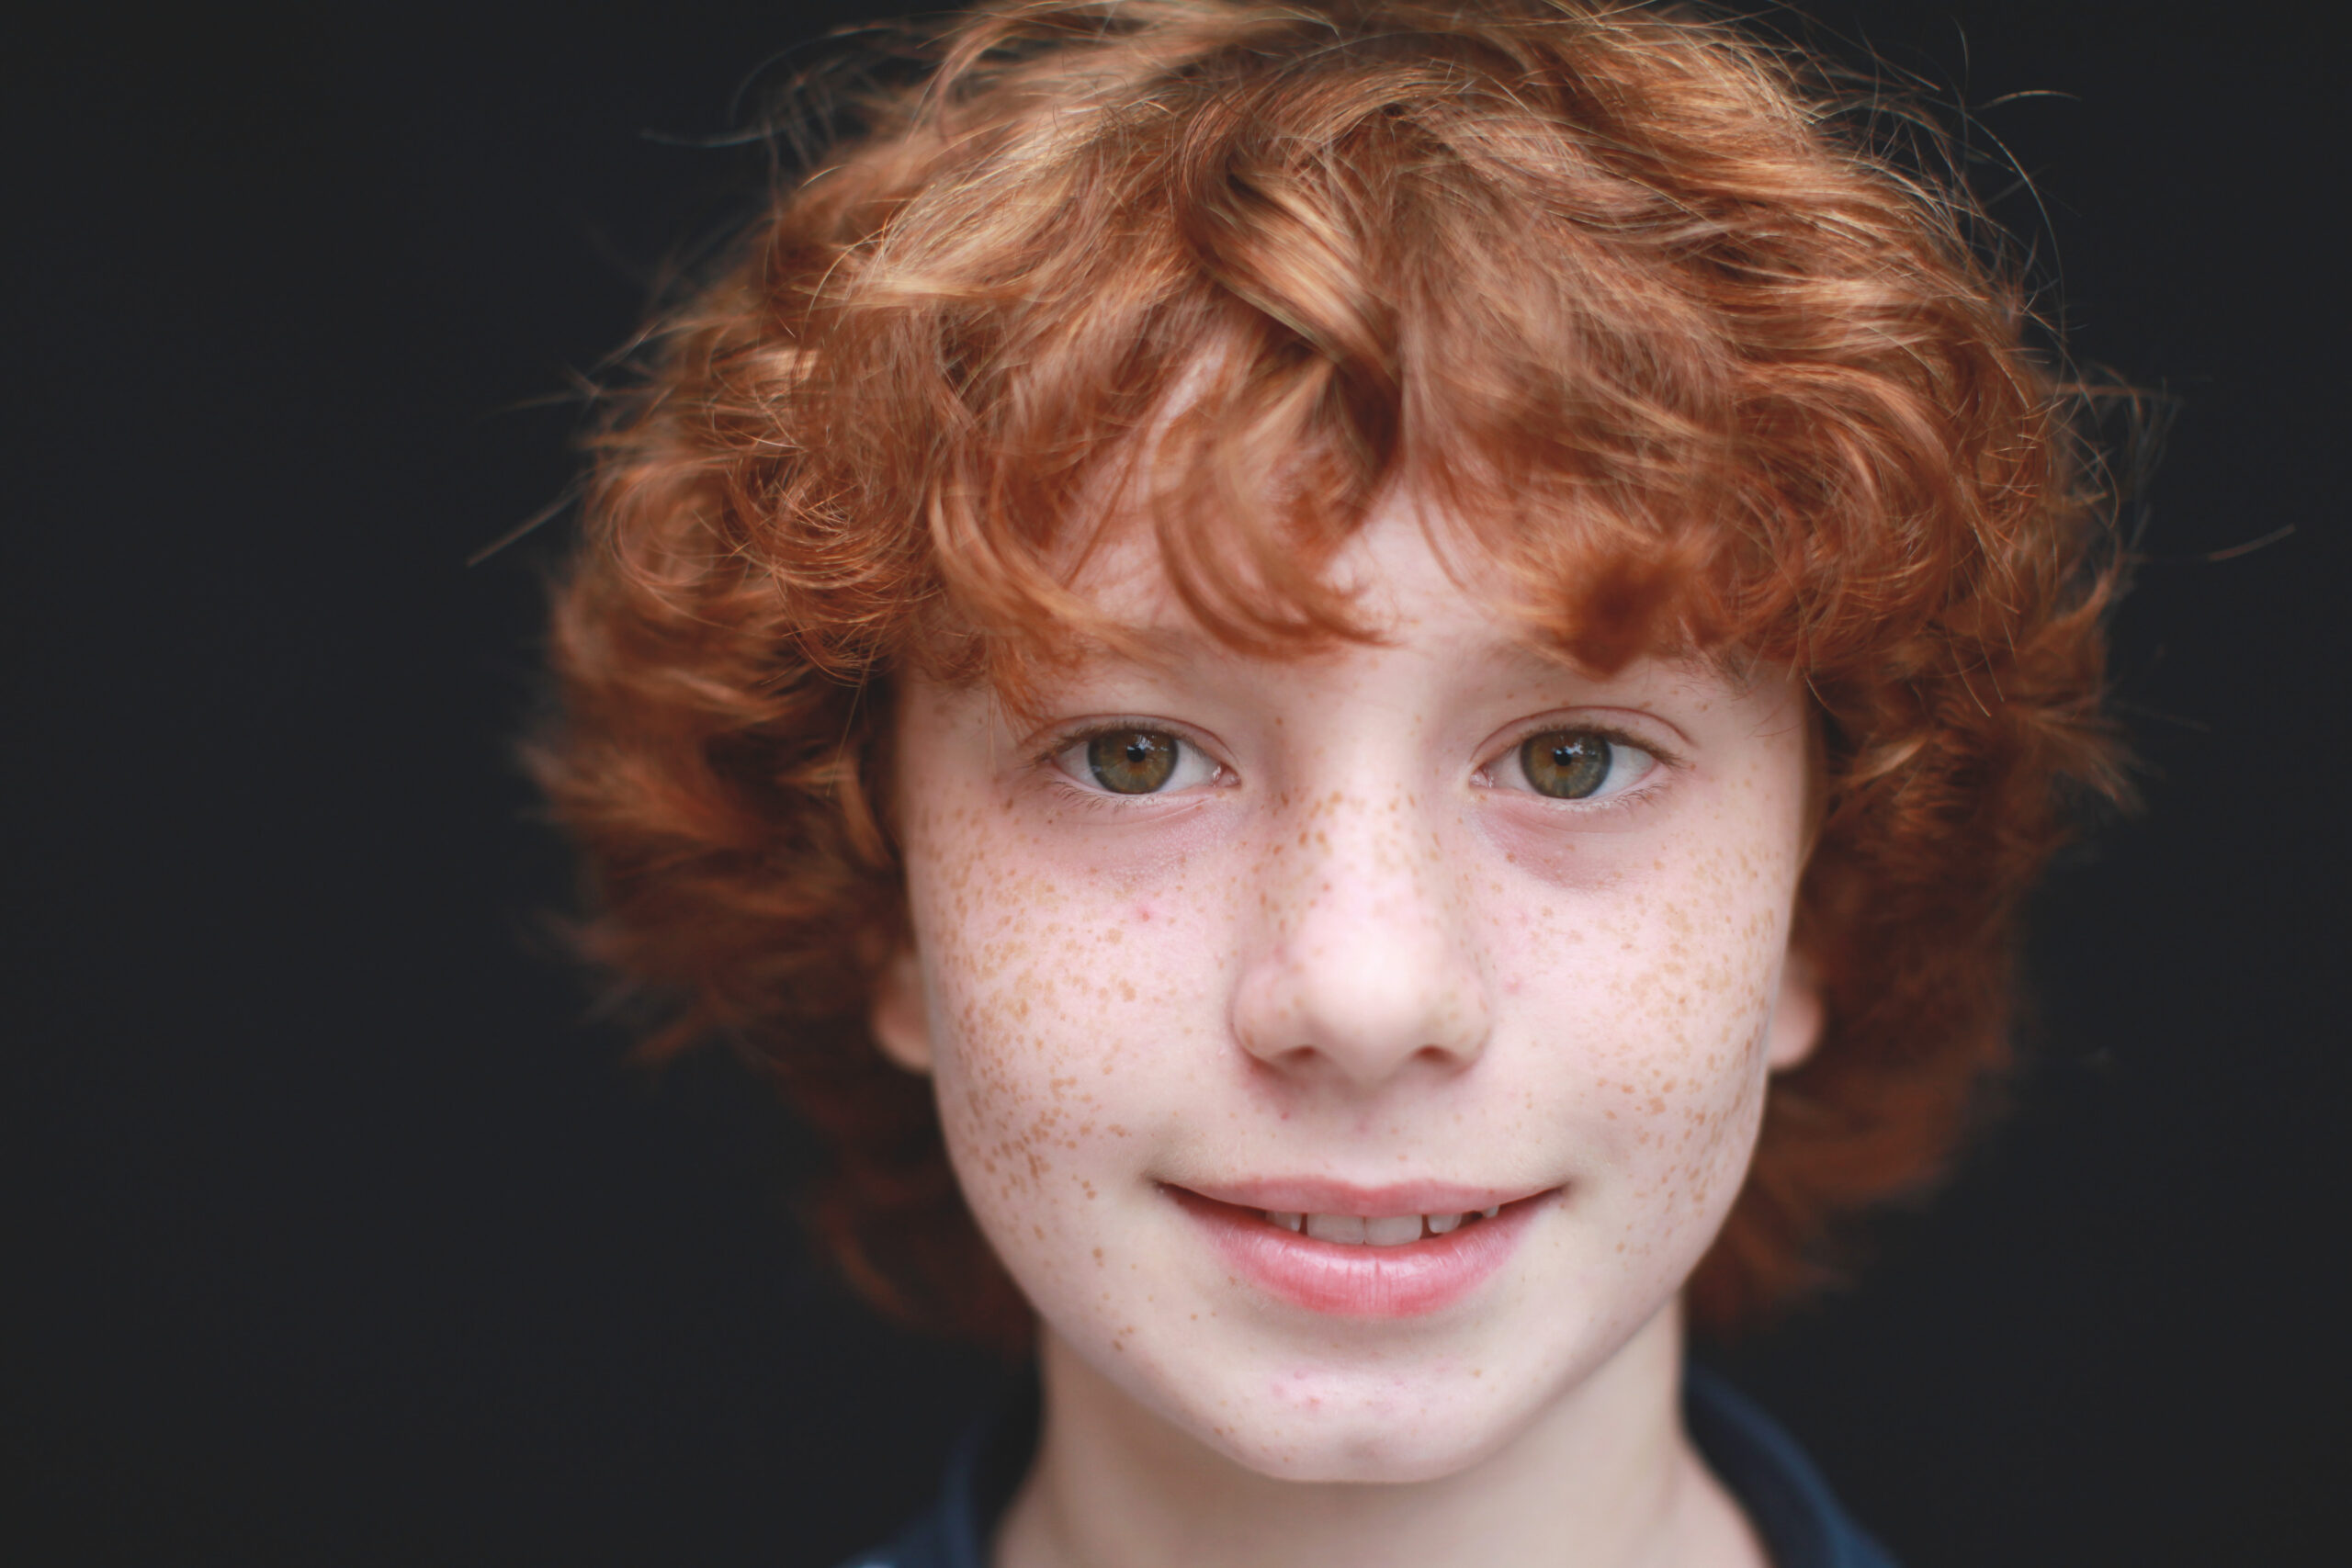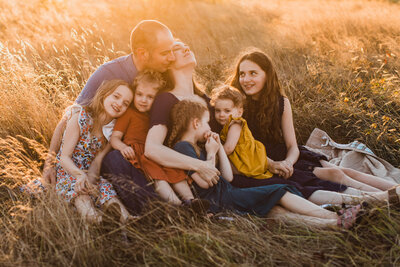

One of the single biggest misconceptions about adding picture days to your studio is that you need a trailer full of expensive, complicated lighting equipment.
I want to set the record straight: you absolutely don’t.
We still photograph many of our smaller preschools using simple natural light. If a school has a great window or a covered outdoor area with beautiful open shade, we use it. Natural light is simple, timeless, and it is the exact way I photographed my very first school.
However, when comparing natural light vs artificial light for school photography, each has its place depending on the building, the weather, and the size of the school.
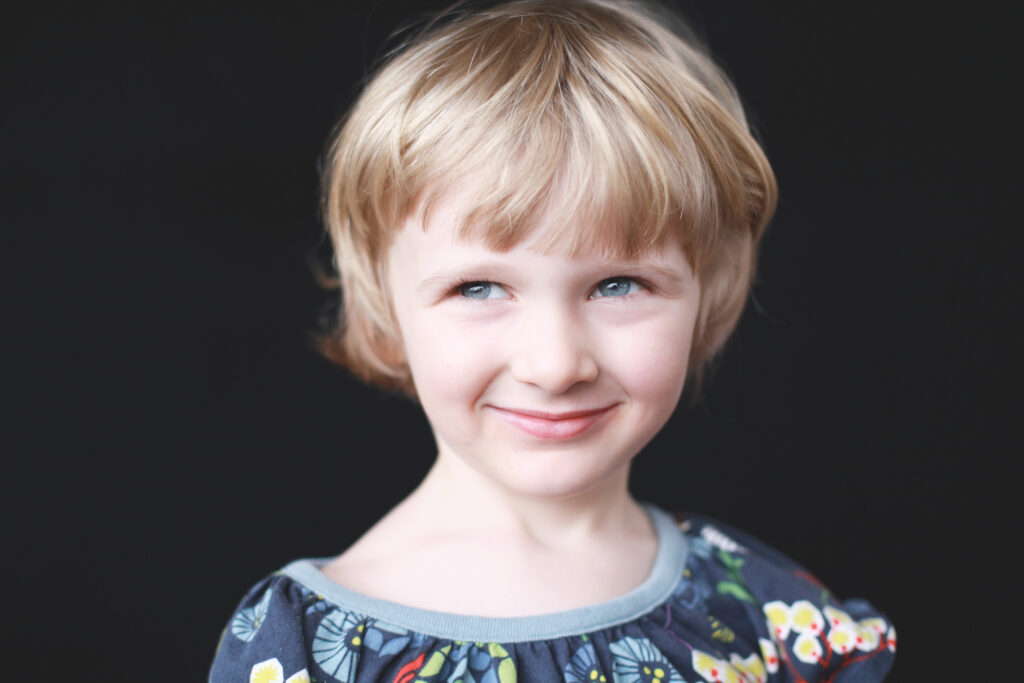
NATURAL LIGHT SETUP: 1 Good Window / Open Shade ➜ Simple, Soft, Zero Gear Setup
ARTIFICIAL LIGHT KIT: 1 Portable Strobe + Umbrella ➜ 100% Consistency All Day Long
As you start photographing larger schools, you will eventually walk into a building where the natural light is terrible—or a gym with harsh, green fluorescent bulbs. Or, you will photograph a multi-day school where you need your portraits taken at 9:00 AM to look identical to the ones taken at 2:00 PM.
That is the exact moment when knowing how to set up one simple light becomes a total game-changer.
Our School Photography Lighting Setup
We keep our equipment list ridiculously simple. You don’t need a degree in studio lighting to master this.
For our picture days, we use:
- One light: A simple, portable strobe (like a Profoto)
- One sturdy light stand
- One large white umbrella: This acts as our modifier to soften the light
- One camera trigger
That is literally it. And no, we do not use a light meter.
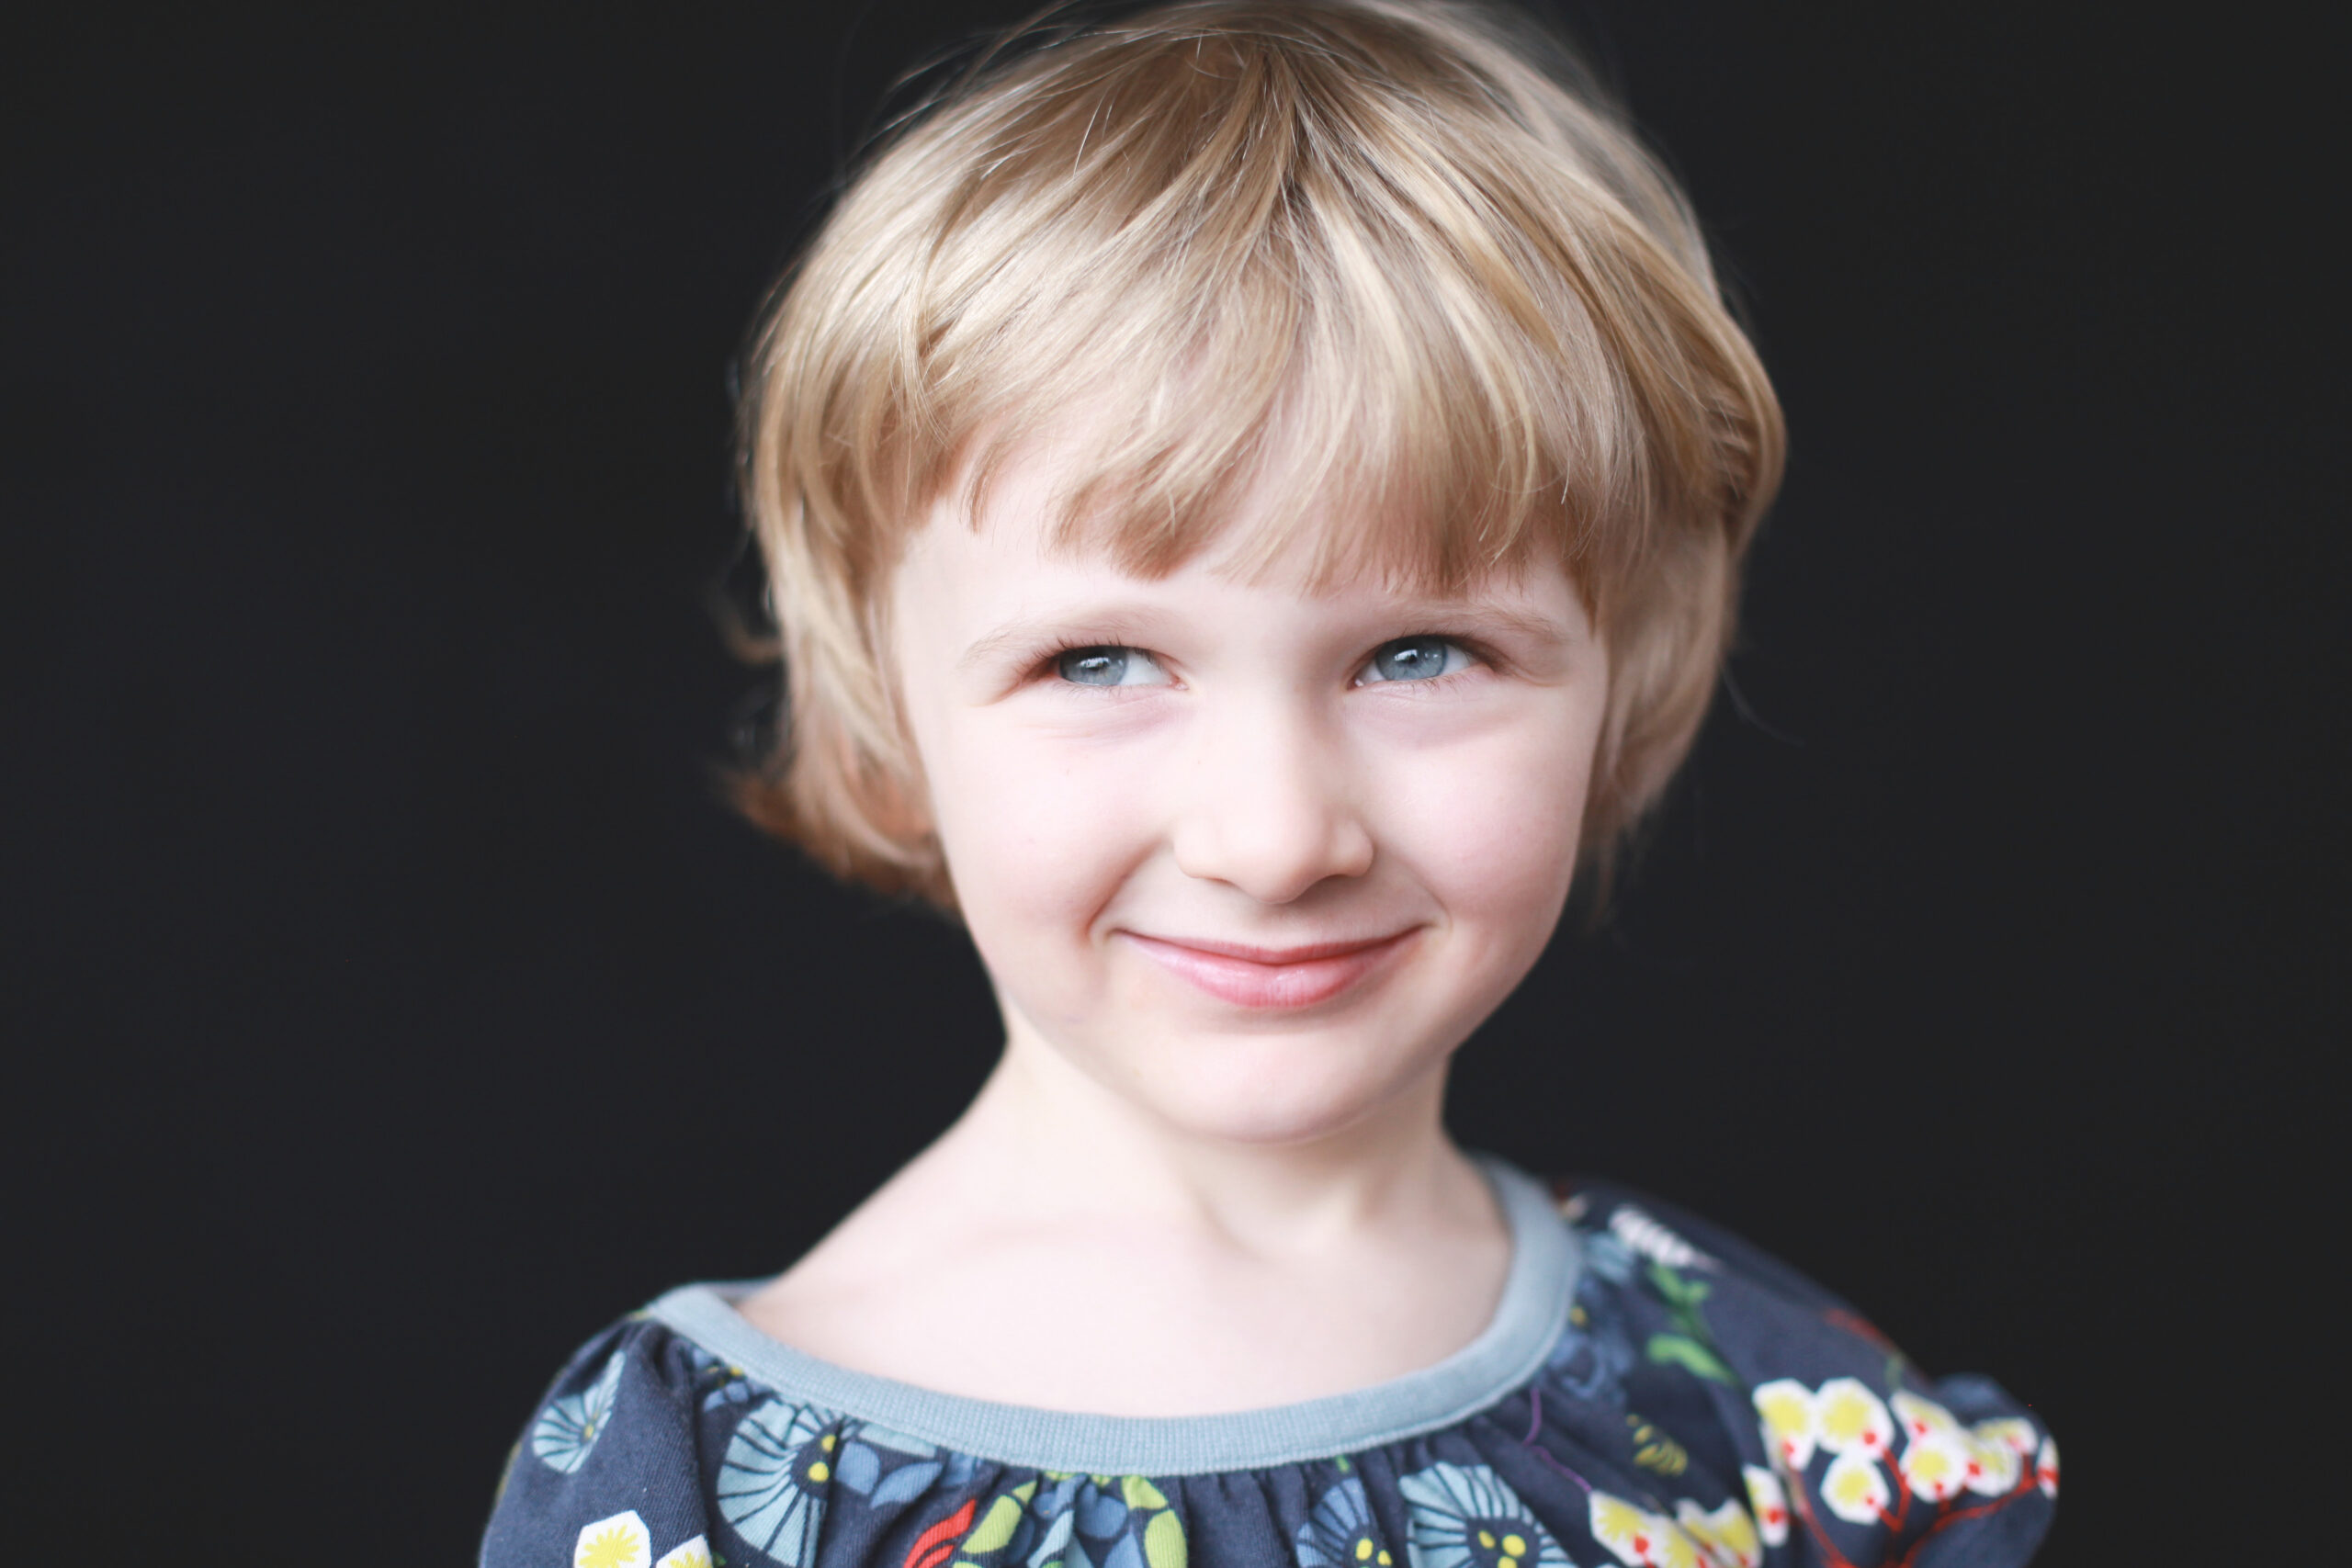
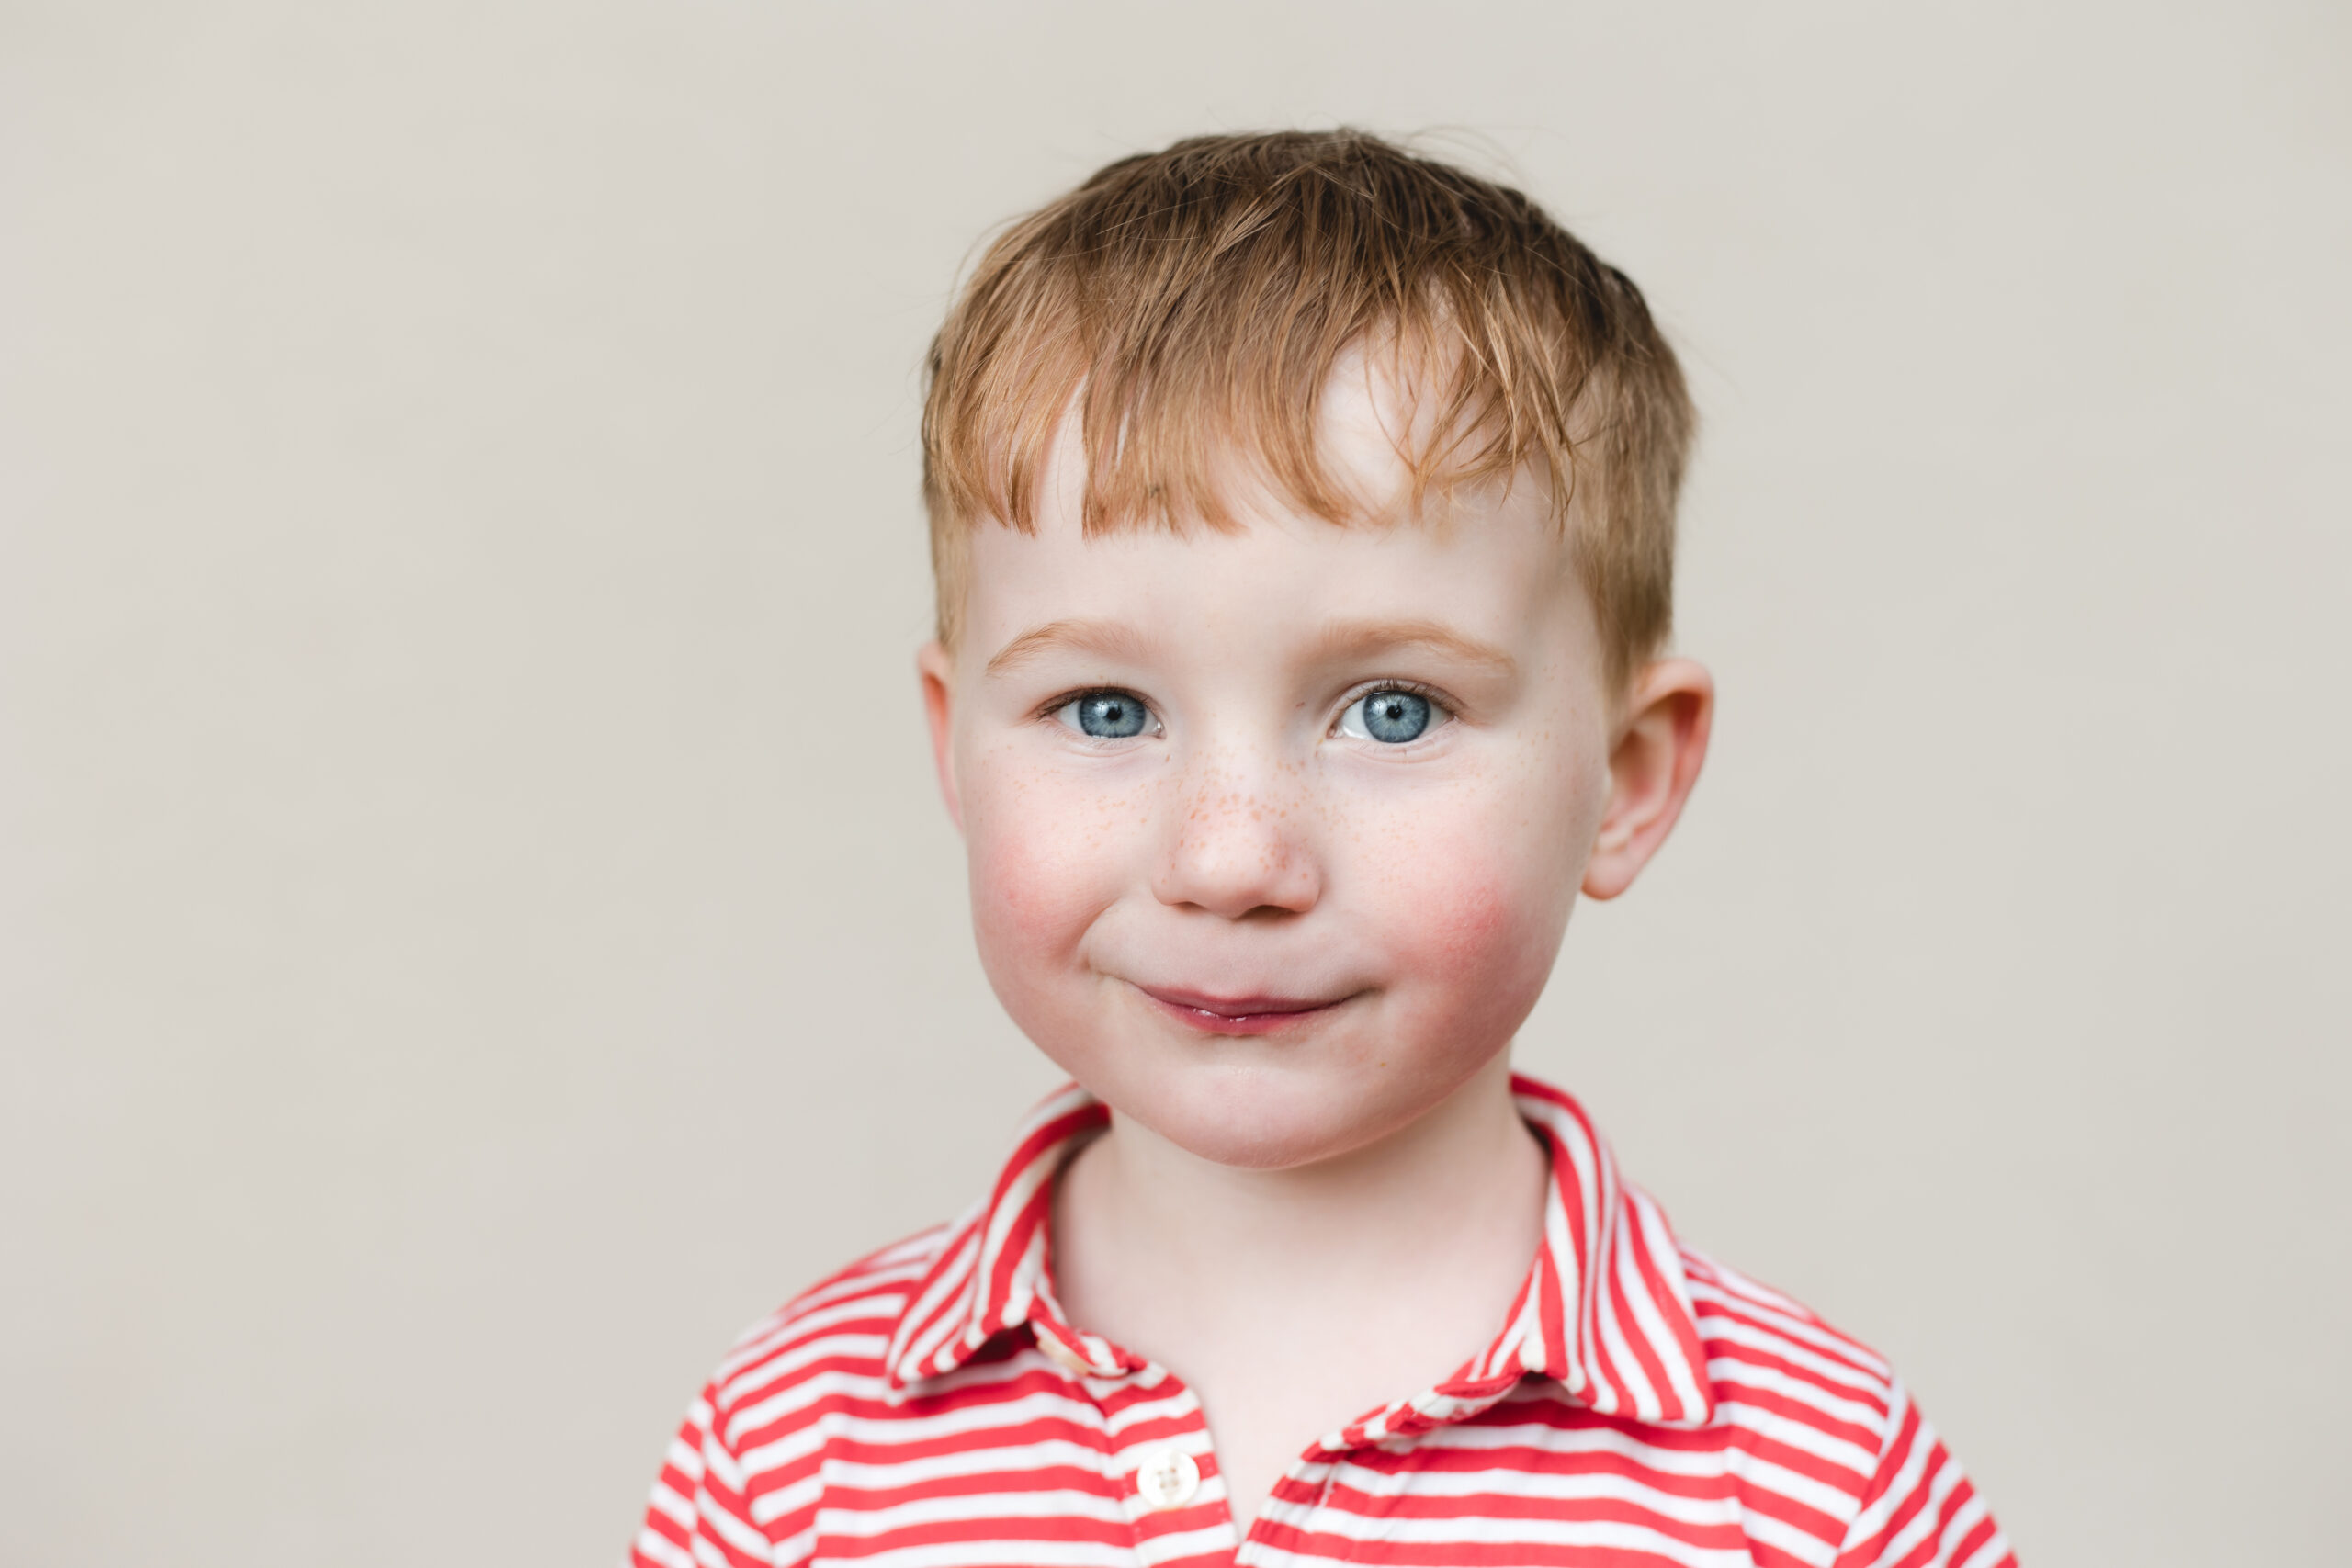
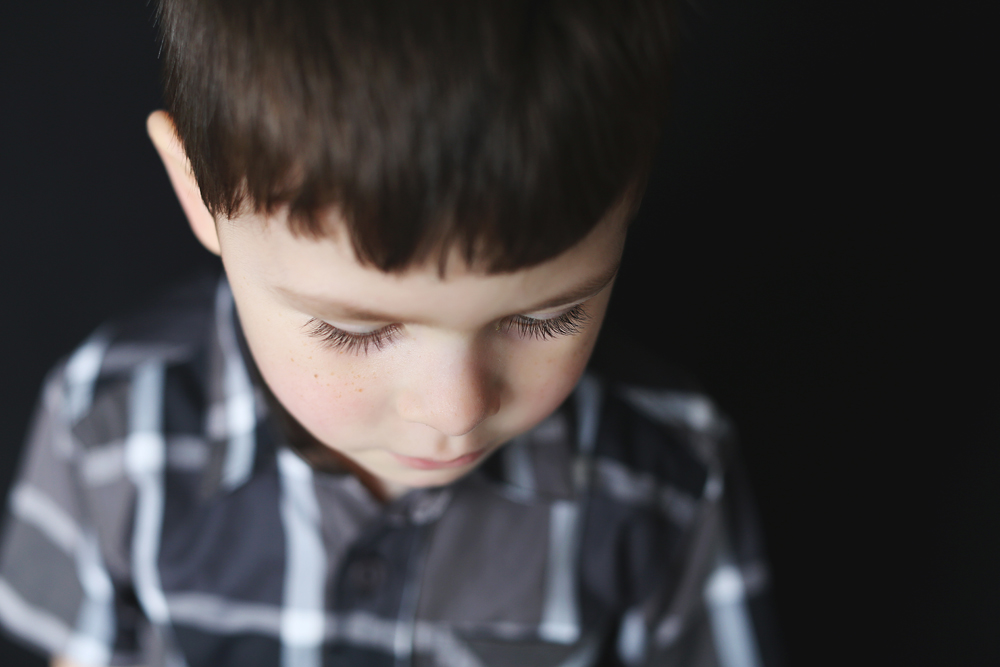
The goal of boutique school photography isn’t to create dramatic, harsh commercial lighting. We want soft, flattering light that feels as close to window light as possible—allowing the child’s natural personality to be the focus of the portrait.
Where Should You Place Your Light?
Think about artificial light the exact same way you think about a beautiful window in a family’s home.
We place our light off to one side of the child rather than blasting them directly from the front. The large white umbrella makes the light source bigger and softer, which creates those soft shadows and natural catchlights we love.
Here is a quick rule of thumb: the closer a large light source is to your subject, the softer the light will appear. Keep it close, soft, and simple.
Why Consistency Makes Editing Easy
The greatest benefit of bringing one light to a larger school is complete consistency.
Your light isn’t shifting every ten minutes because clouds are moving in front of the sun. Once you dial in your settings on your test shot, you can photograph child after child with the exact same beautiful light. When you are editing hundreds of student portraits, that level of consistency saves you hours at your computer.
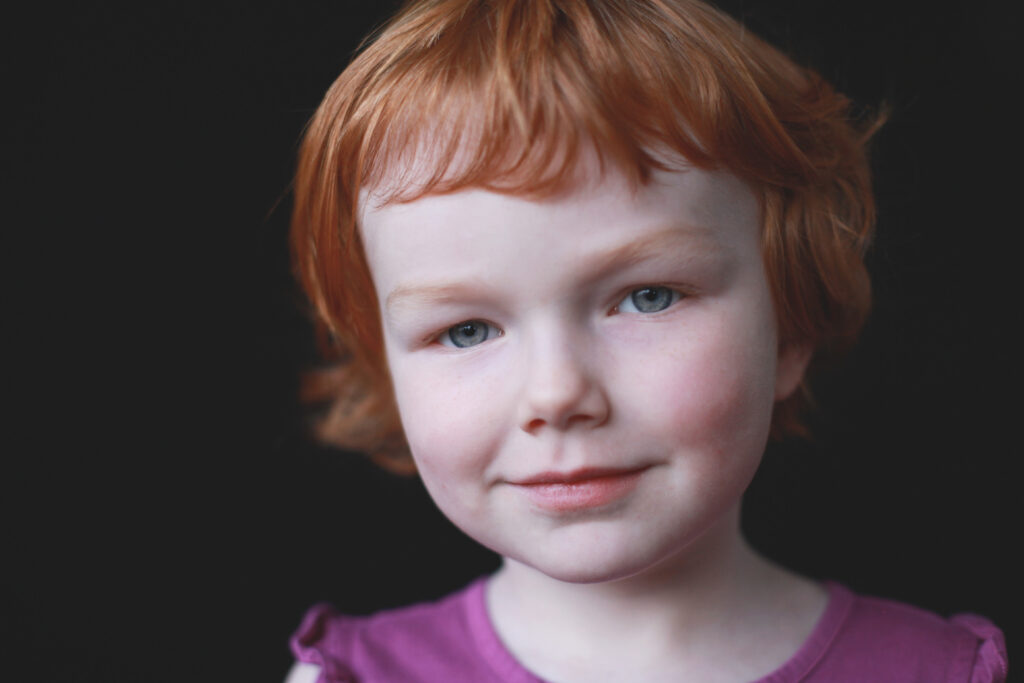
Natural Light vs. Artificial Light for School Photography: Use What Makes Sense
I don’t believe you need to master complex studio setups before you can pitch your first school.
- Have a small preschool with a gorgeous window? Use it.
- Have a covered outdoor space with open shade? Use it.
- Walking into a windowless hallway or cafeteria? Bring your one light setup.
You don’t need five lights, complicated light meters, or thousands of dollars in gear. You just need one simple setup that you can execute with complete confidence.
Ready to learn how to run simple, high-profit picture days?
If you want to learn how we photograph schools, from minimal gear setups and lighting to pitching directors, running stress-free picture days, and building real income, I want to show you the way!
Watch my Free Live Webinar on getting started with boutique school photography. I’ll break down the entire step-by-step system, show you real student sales numbers, and share how photographers are adding steady school income to their existing family studios!
👉 Click here to see real photographer testimonials and register for the FREE Live Webinar!